TC Plate Changer
First Software Test
This page shows how to perform a first test of the PlateChanger software.
Create a project
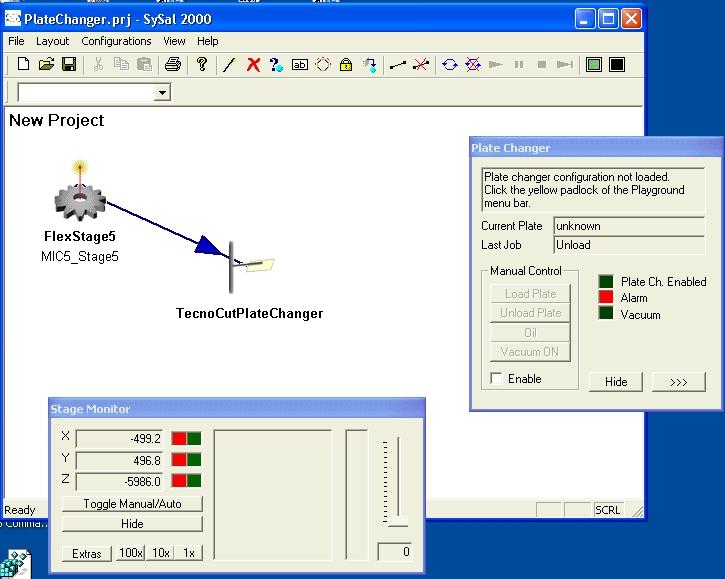
1. Create a simple project with only 2 modules: FlexStage5 and TecnoCutPlateChanger.
2. Apply to FlexStage5 a new configuration (in case, copied from FlexStage4).
3. Connect FlexStage5 to TCPlateChanger
4. Connect BOTH slots !
5. Save the project as PlateChanger.prj
6. Edit MACHINE DEFAULTS for FlexStage5
(use the 15th button of the icon bar, just after the yellow padlock, then click on the FlexStage5)
Create 2 more Reference Positions:
(1) type XY , name XY_TPCLoadingPosition
this is the stage position (relative to the home) where the plate is loaded or unloaded.
Typically, it is some hundreds of microns before the limit switches.
Be carefully that limit switches MUST be turned OFF.
(2) type Z , name Z_TPCLoadingPosition
this is the objective position during the plate loading or unloading.
(Ex: 1000 microns above the emulsion.)
click OK to save and exit.
8. Edit MACHINE DEFAULTS for TecnoCutPlateChanger
(use the 15th button of the icon bar, just after the yellow padlock, then click on the TecnoCutPlateChanger)
Enable both plate changer and oil objective.
In case, enable also firmware v.2.
Put the correct values of Oil dispenser position relative to the objective position (DeltaX and DeltaY).
back